

Bath Loofah Pumpkin with Lights | Craft Tutorial
Fall season is in full swing! Are you looking for a cute DIY for your Thanksgiving decor? I’ve got the cutest little pumpkin loofah craft tutorial for you! There’s nothing I like more then a good craft challenge. This Bath Loofah Pumpkin is so fun to make and wallet friendly too! This cutest little pumpkin would make a great hostess gift at Thanksgiving dinner or any time during the fall season.
Materials You’ll Need:
- An orange loofah
- Orange acrylic paint
- Antique wax
- A small button
- Spanish moss and greenery
- Twin, fabric strips (like ribbon), and raffia
- Hot glue gun and glue sticks
- Sandpaper (optional for distressing)
- Scissors
- A small wooden tag with the word “GATHER”. You can purchase it from our Fun Fall Kit HERE.
- LED “Fairly” lights
Step 1: Paint the Loofah
I picked up an orange loofah from Walmart and painted it a little darker orange. It gets a bit messy with this one because it was hard to paint with the holes and type of material so I ended up just squirting the paint right into it and working it with my hands to completely cover it.
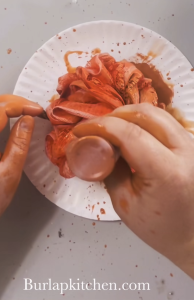
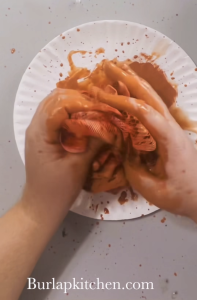
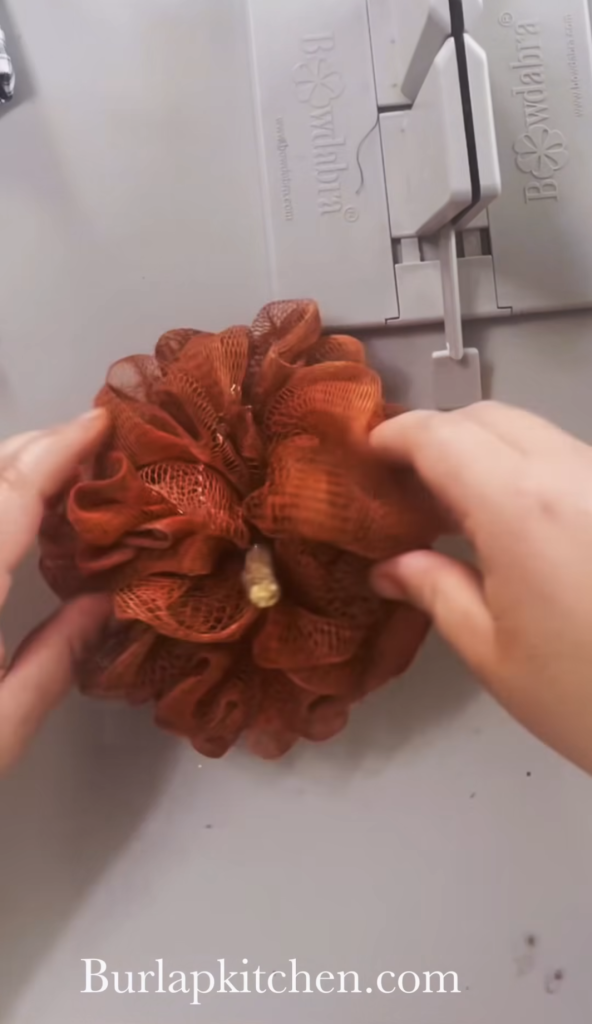
Step 2: Trim Off the Tie & Add the Stem
Once it is painted and dry, cut off the top yarn part, where the loofah hangs from. Added a dab of hot glue and a short stick for the stem of the pumpkin.
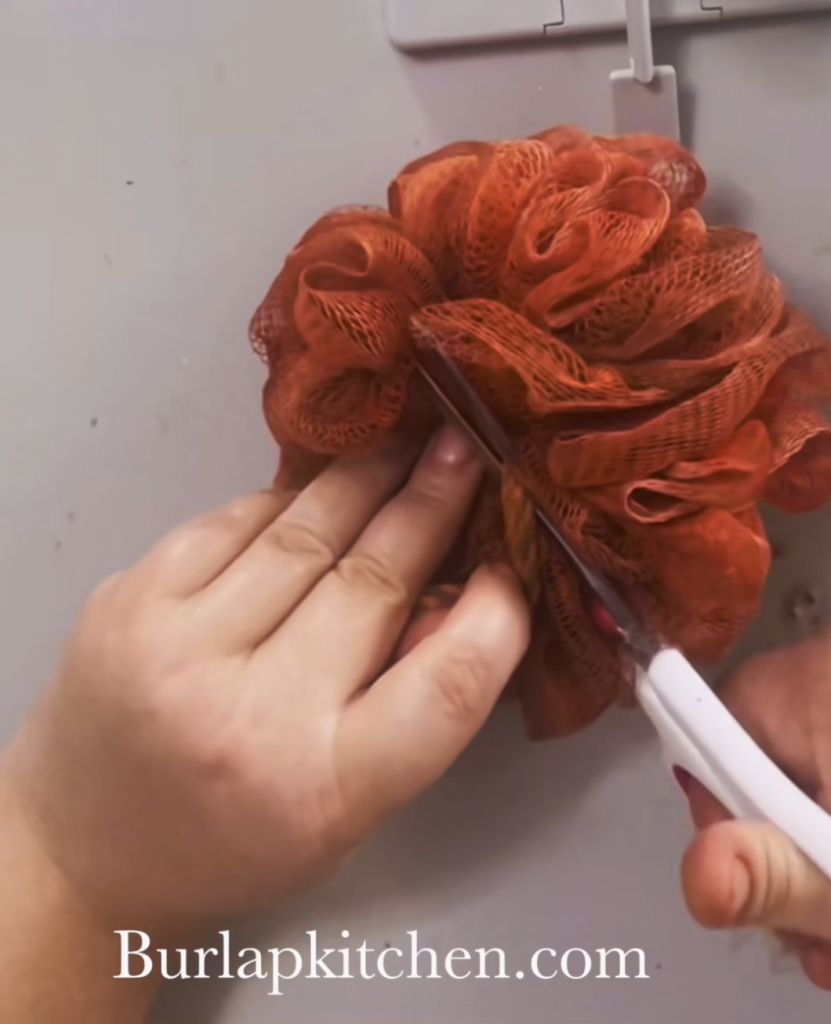
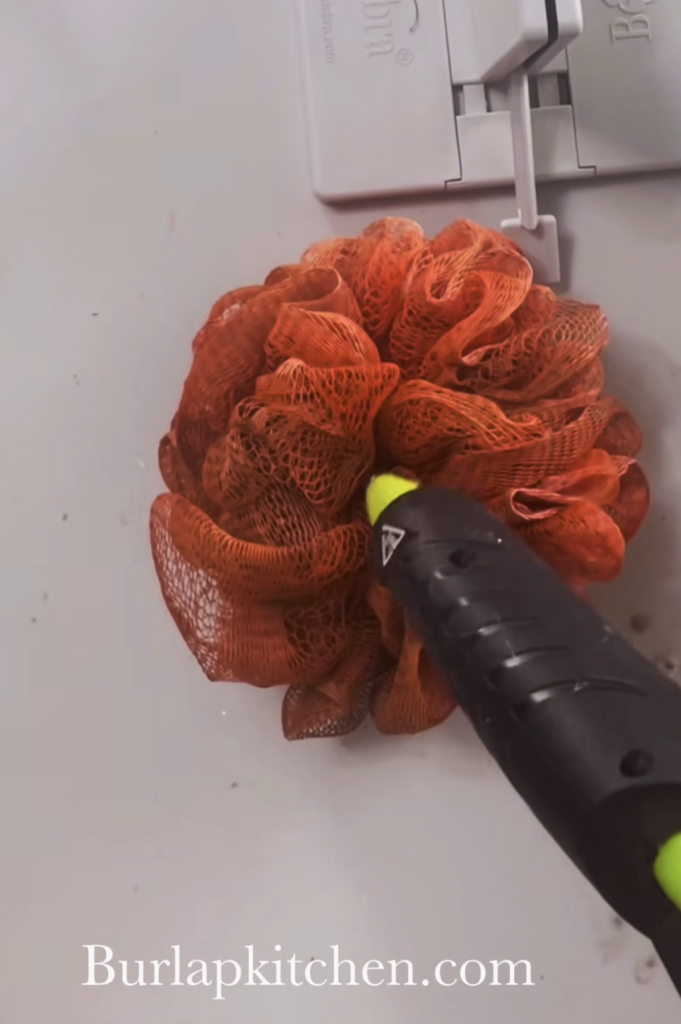
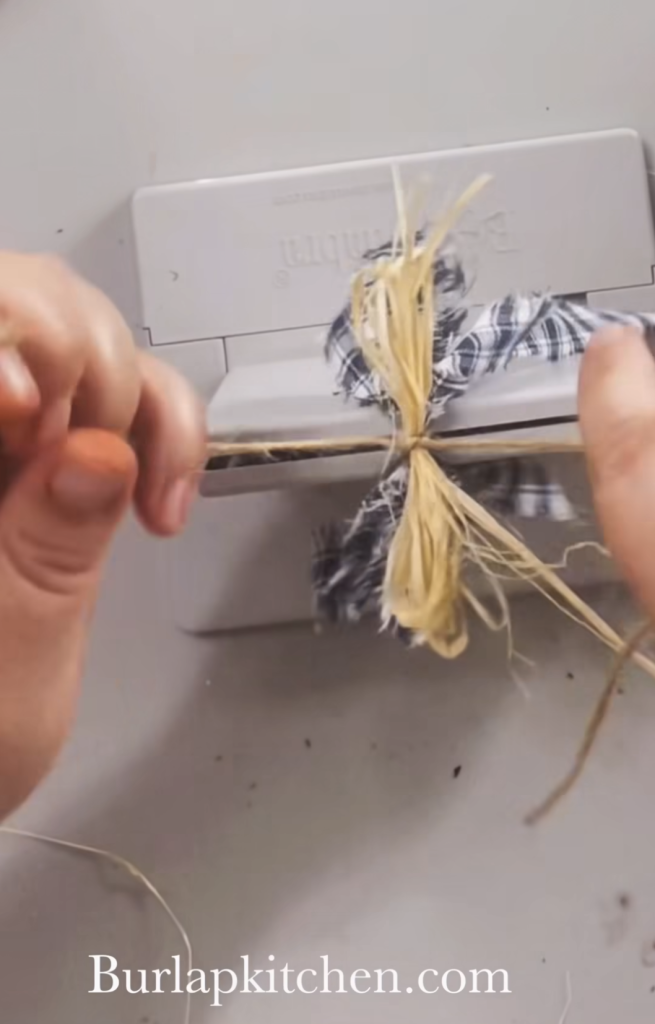
Step 3: Make a Bow
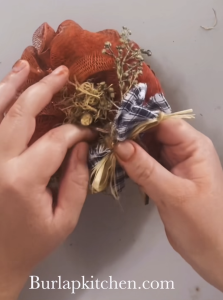
Next I used my bow maker with some ripped up material, twine, and raffia, to make a really cute bow.
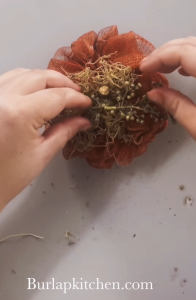
Step 4: Decorate the Stem With Spanish Moss, Greenery, & Bow
Added a little Spanish moss and greenery to the base of the stem, securing it with hot glue and add the bow on top of that.
Step 5: Paint Wooden Tag & Attach to the Bow
Next, add one of the tags from our Fall Wood Bundle (you can find them HERE). I rubbed some antique wax on it and used twine to tie it to the bow.
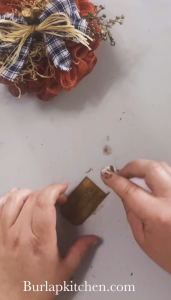
Step 6: Add Fairy Lights & Final Details
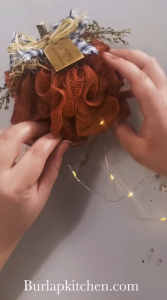
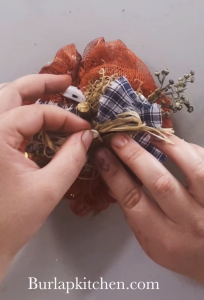
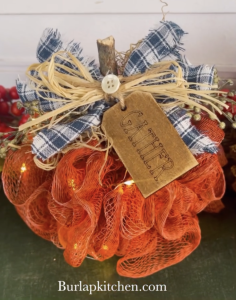
To make your pumpkin light up, use fairy lights and weaved them up and down throughout the loofah. It was much easier than trying to wrap it around. I took a little hot glue and secured the light switch to the back. I also added a little white button to the bow as well.
It turned out super cute and so fun to make! Let me know if you you plan to give this one a try!
If you decide to make this DIY I’d love to hear from ya! You can drop a comment below or message me on any of my social media pages. Hope you have a blessed weekend and as always remember to keep it simple. Catch ya next week my friends! Facebook, Twitter, Pinterest, Instagram, YouTube
Watch this tutorial on YouTube!
Looking for more ideas, checkout our latest tutorials HERE!
Pin me! – Pinterest


You May Also Like

DIY Picket Fence Flower Box Decor Tutorial

Farmhouse Bear Craft Kit Tutorial
