

Rustic Patriotic Tin Can | DIY Craft Home Decor
Hey friends! Today we’re turning something super simple — an empty tin can — into the cutest rustic patriotic table decor. This is such a fun and budget-friendly craft, and I love that it uses something you might normally throw away! I’m using one of our printables from our Printable Membership Subscription that prints out three designs that fit around standard soup cans. This is just one of over 100 fun printable designs we offer in our Printable Membership, and you can find out more about that HERE.
Alright, let’s get to it. Grab your supplies and let’s get started.
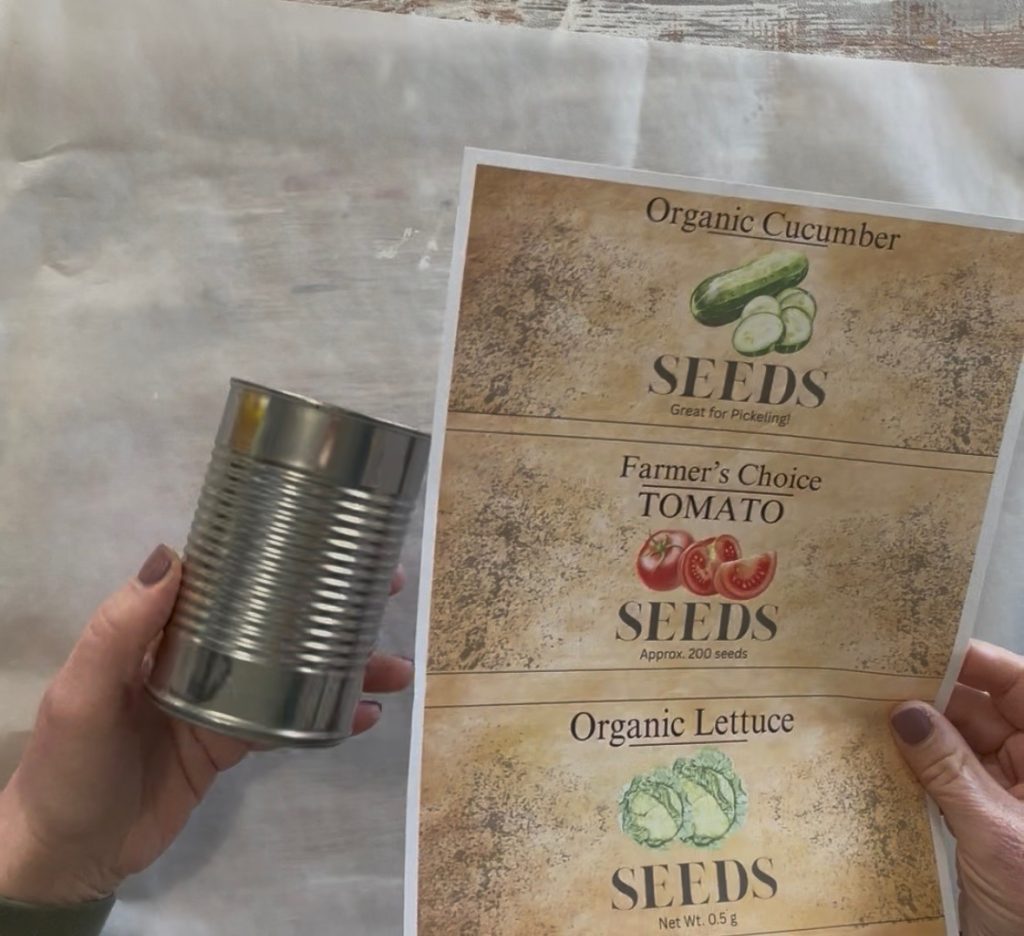
Materials You’ll Need
- Canned Veggies printable from our Printable Subscription Collection
- Empty tin can (cleaned and dried)
- Chalk paint (white or neutral base)
- Sanding block
- Waverly Antique Wax
- Baby wipe or blending tool
- Mod Podge
- Wooden star cutouts
- Red, white, and blue paint
- Paintbrush
- Foam block
- Wooden skewers
- Faux flowers
- Spanish moss
- Fabric strip (blue or patriotic fabric)
- Hot glue gun + glue sticks
Step 1: Paint the Tin Can
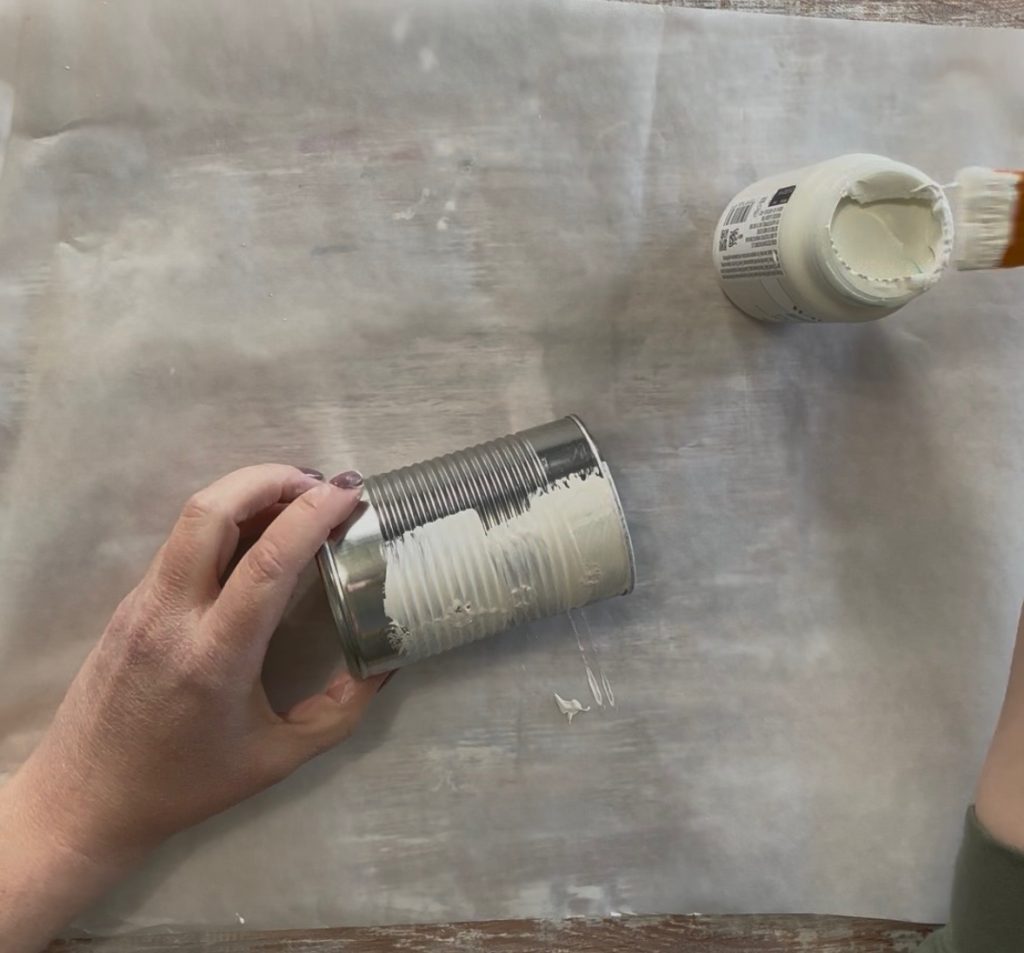
First, start by painting your empty tin can with chalk paint. This type of paint works best because it adheres well to metal surfaces better than regular craft acrylics. Apply two coats, allowing each coat to dry completely before moving on.
Step 2: Distress the Can
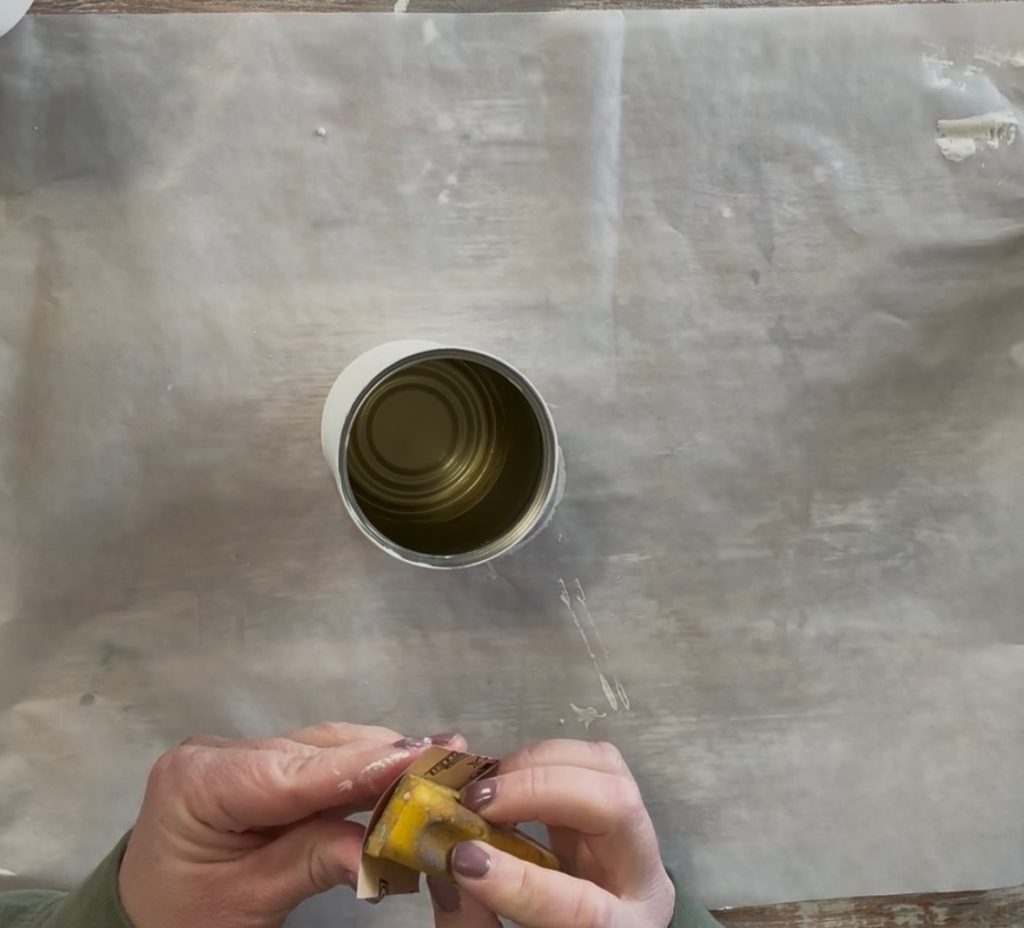
Next, once the paint is fully dry, lightly sand the surface using a sanding block. This helps give the can that soft, rustic farmhouse look.
Be careful as you sand, since the top edges of the can could be a bit sharp.
Step 3: Add the Printable Label
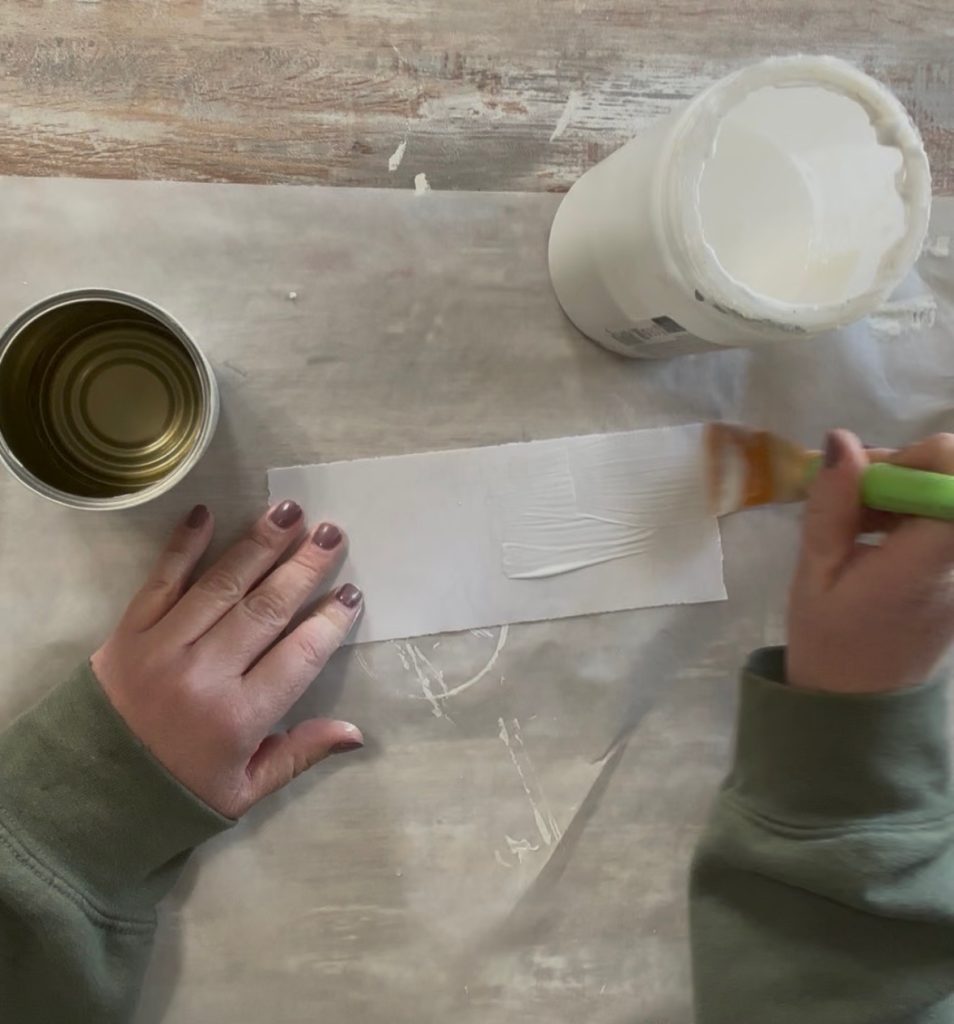
After that, take your printable label and tear the edges using a ruler or other strong straight edge to create a more rustic finish.
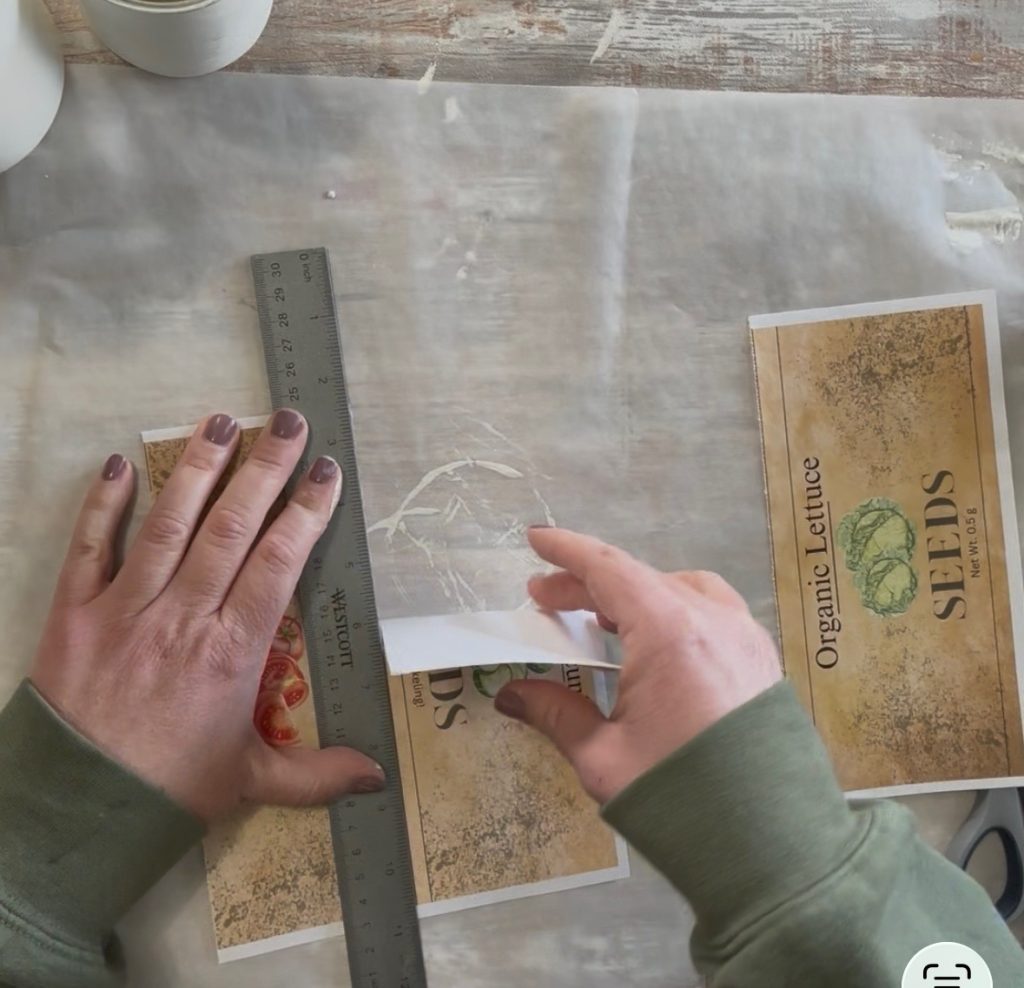
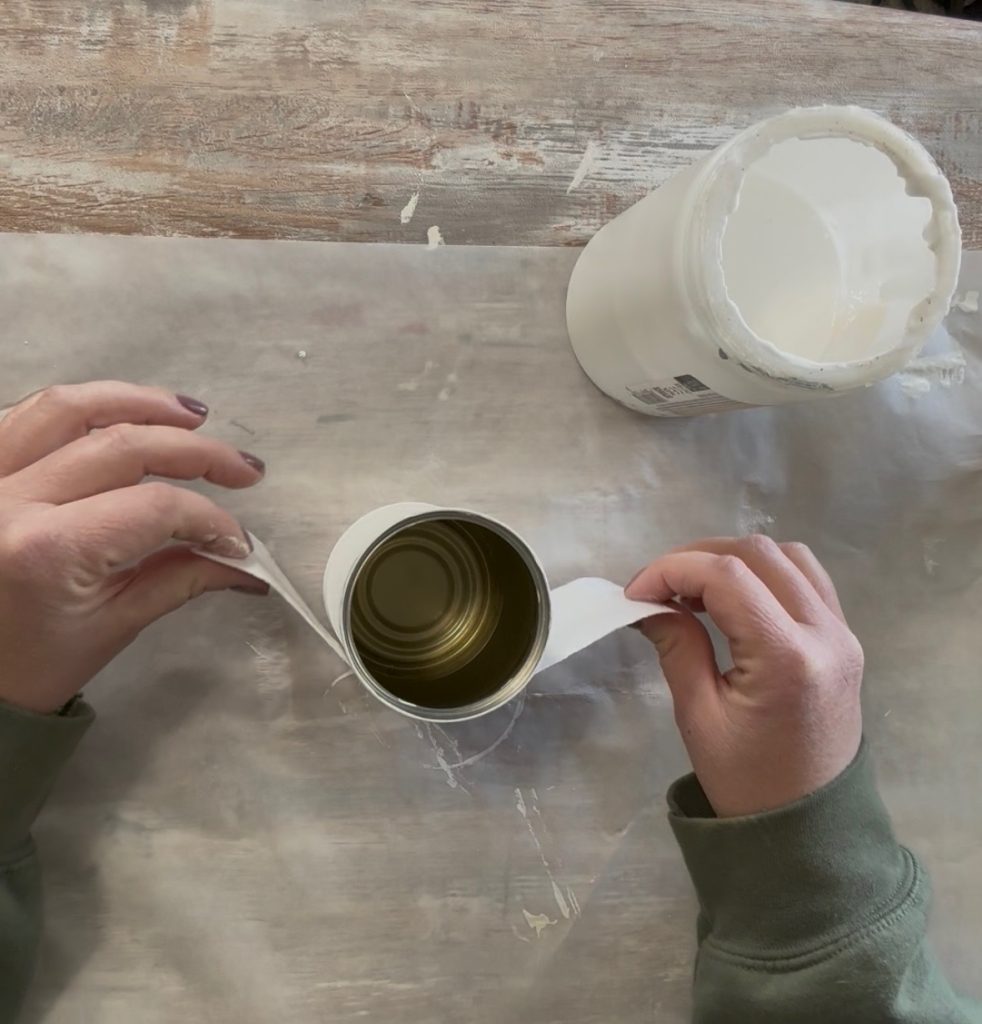
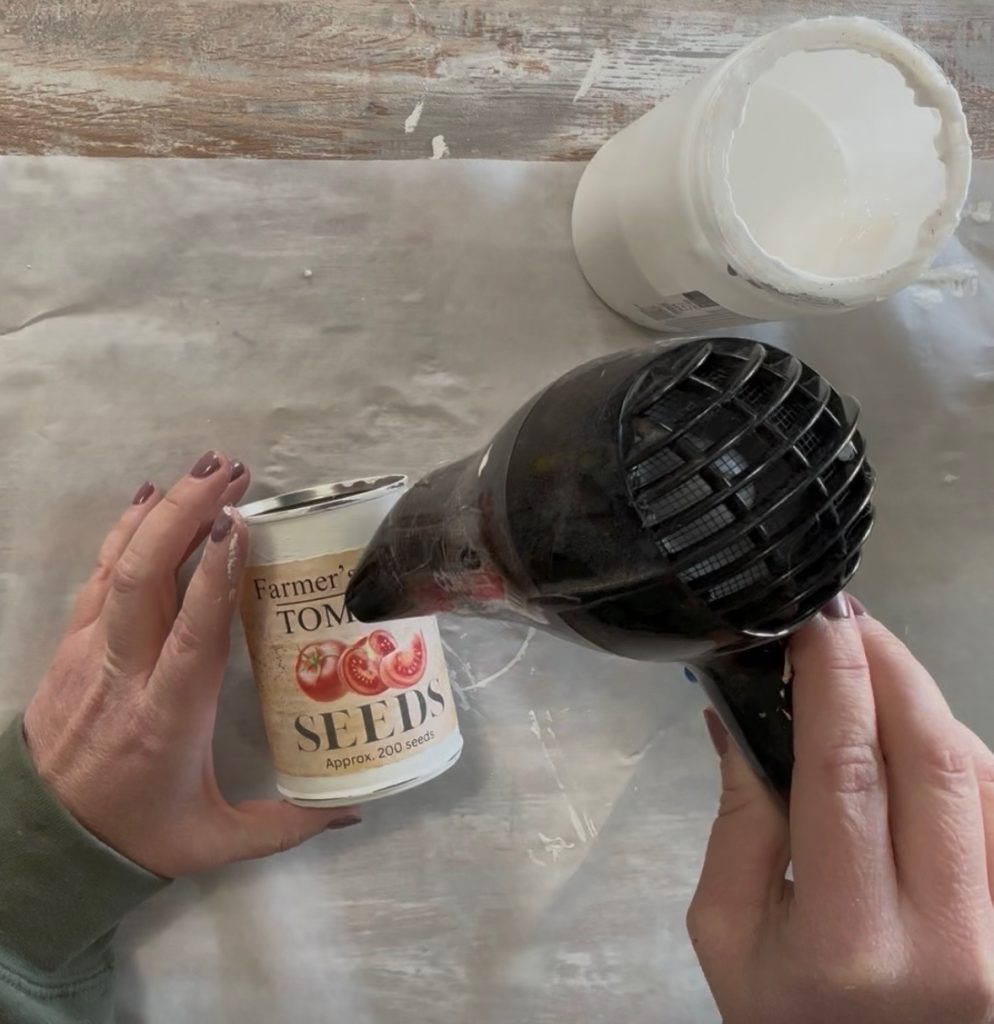
Next, apply Mod Podge to the back of the page and wrap it around the can. Smooth it down gently so there are no bubbles, and let it dry completely.
Step 4: Apply Antique Wax
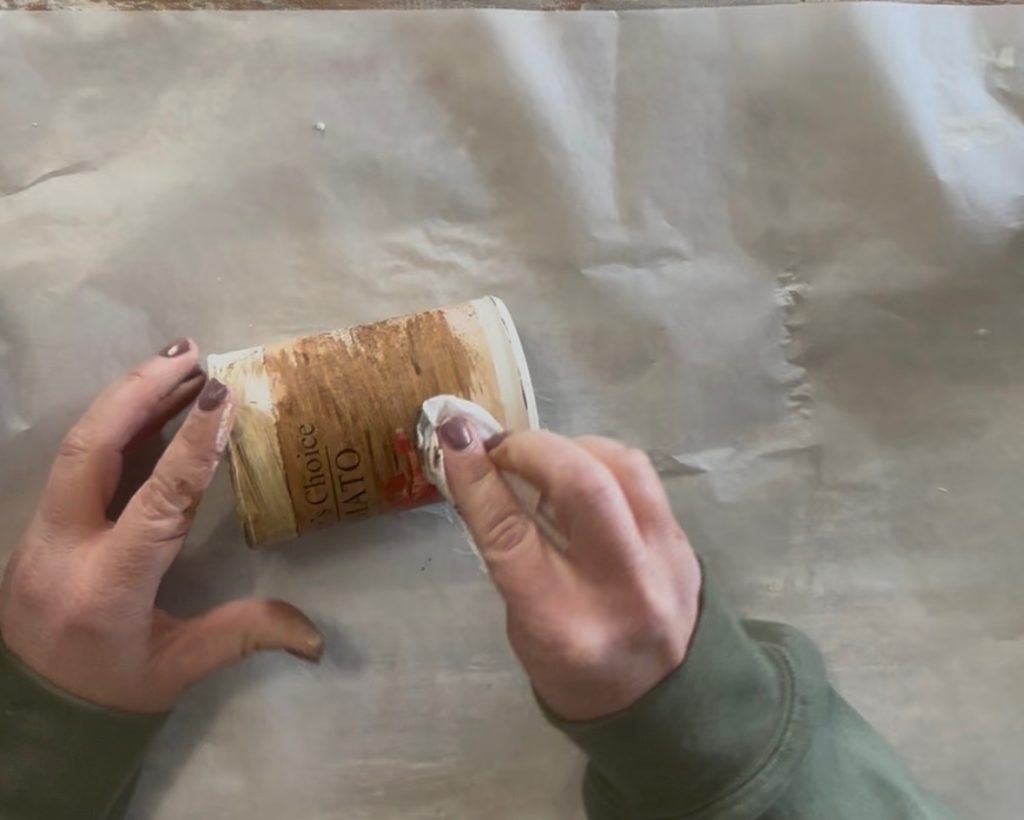
Once everything is dry, use a baby wipe to apply Waverly Antique Wax over the entire can.
This step really brings everything together and gives it that aged, farmhouse-style look.
Step 5: Paint the Wooden Stars
While you are waiting for the antique wax to dry, paint your wooden star cutouts in red, white, and blue acrylic paint.
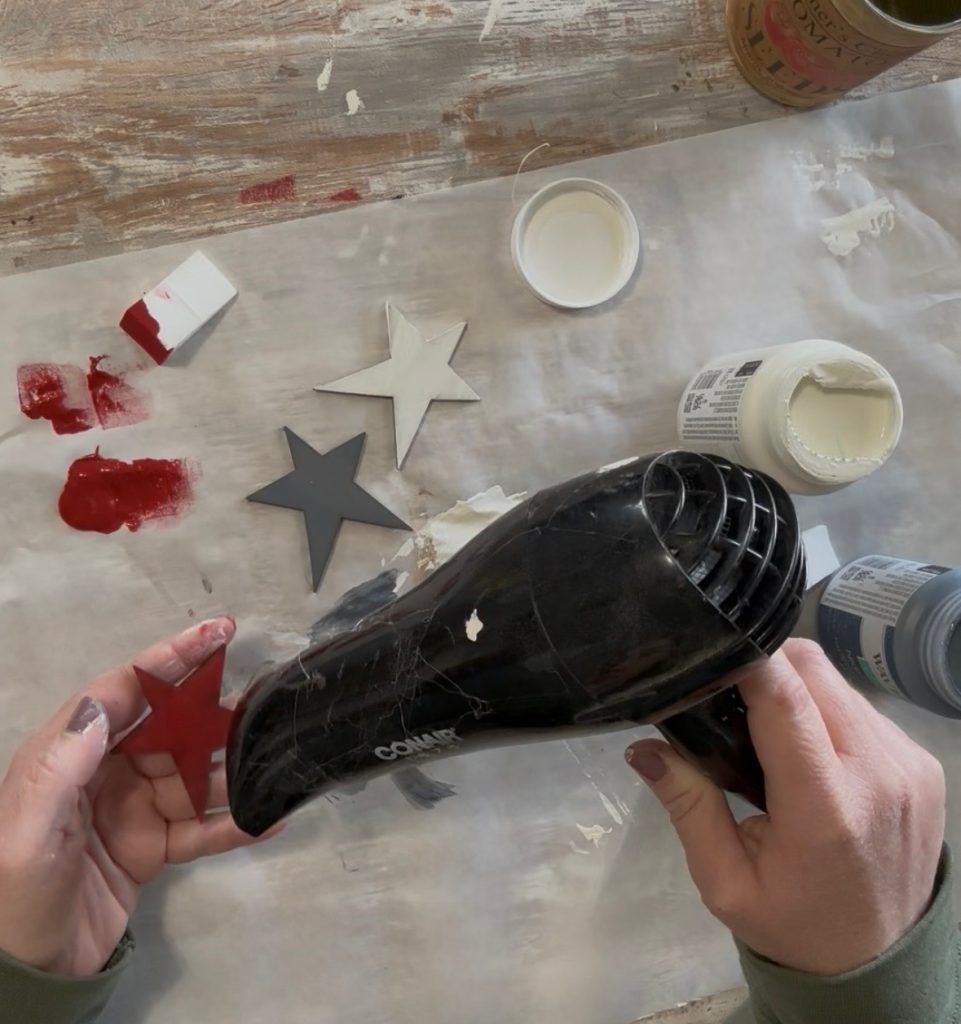
Then, once they’re dry, lightly sand them to create a distressed effect.
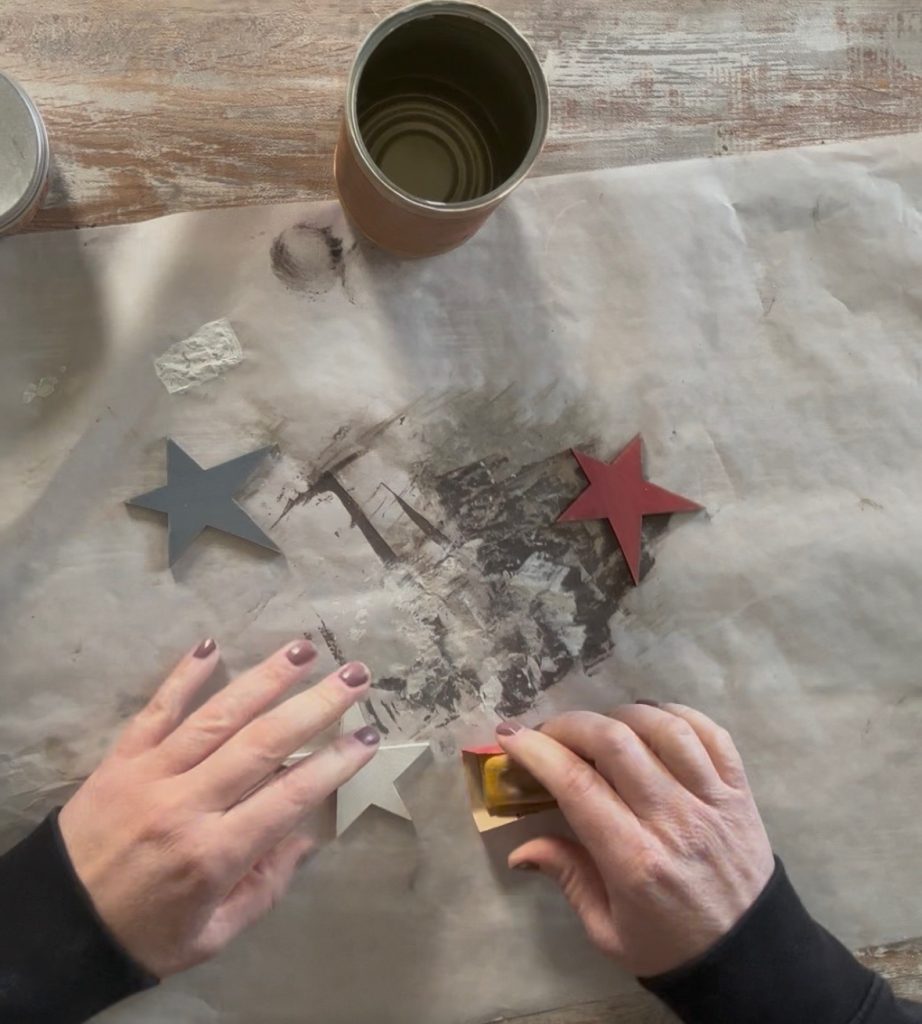
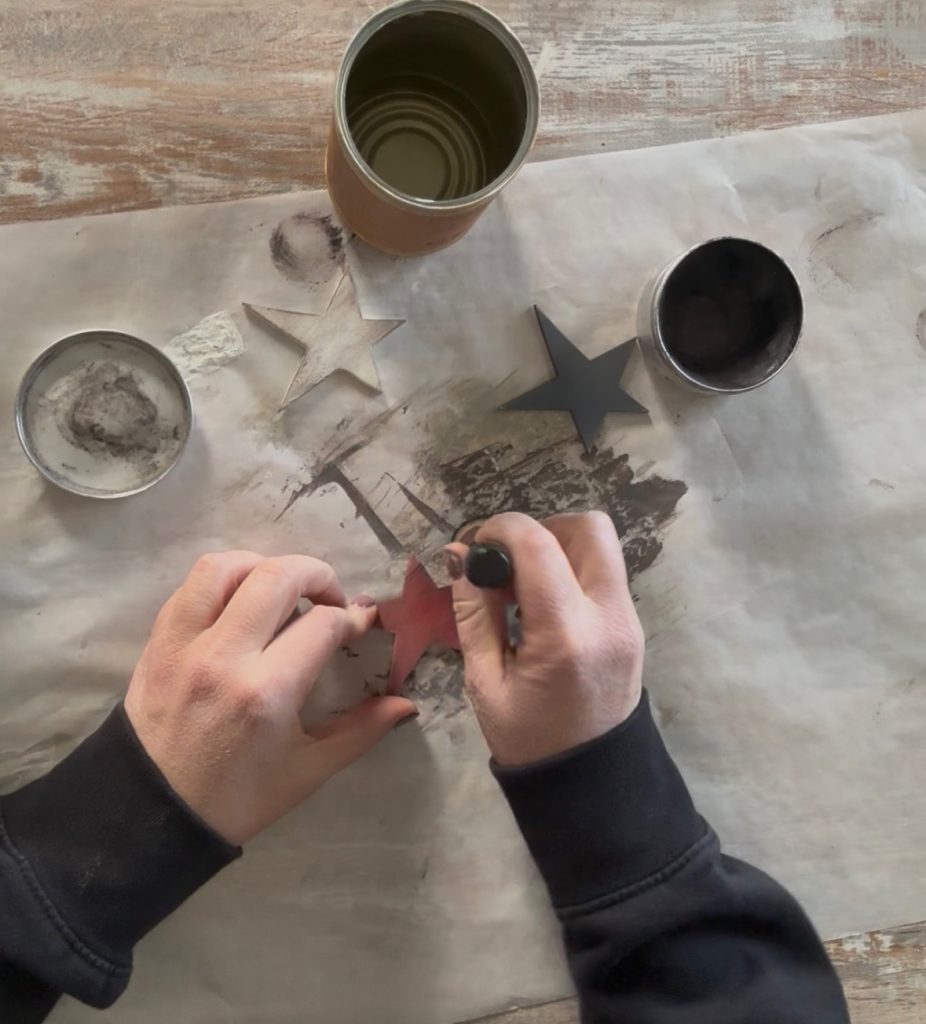
Additionally, you can add a bit of antique wax around the edges, applying with a blending tool, to deepen the rustic look even more. Let everything dry completely.
Step 6: Prepare the Base
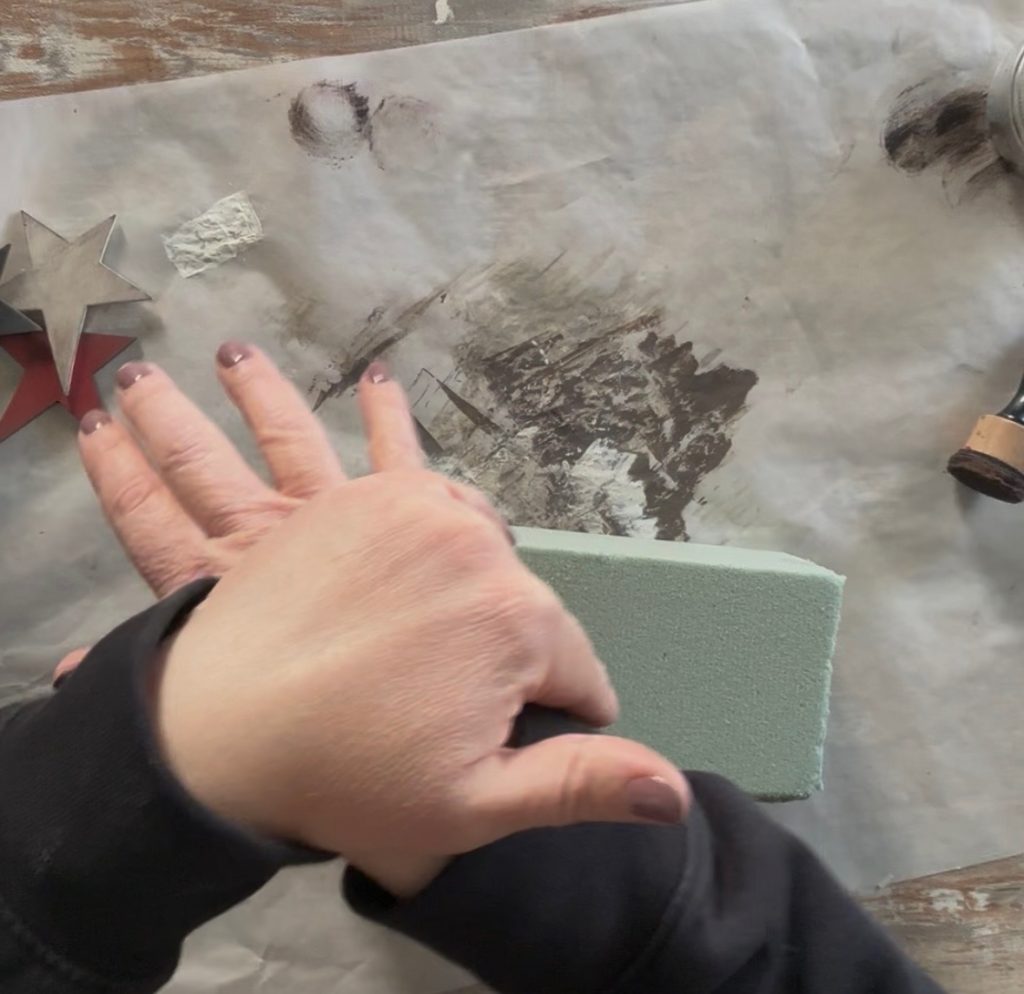
Next, take your foam block and cut it down to size if necessary to fit into the can. Press the foam into the can to create a snug fit.
If your foam happens to be smaller and it’s loose in the can, I would recommend hot gluing the foam into the bottom of the can so it stays in place while you assemble your arrangement. That’s optional though.
Step 7: Add the Flowers
After that, arrange your faux flowers inside the can.
You can mix colors, but I like adding touches of red and white to keep everything cohesive with the patriotic theme.
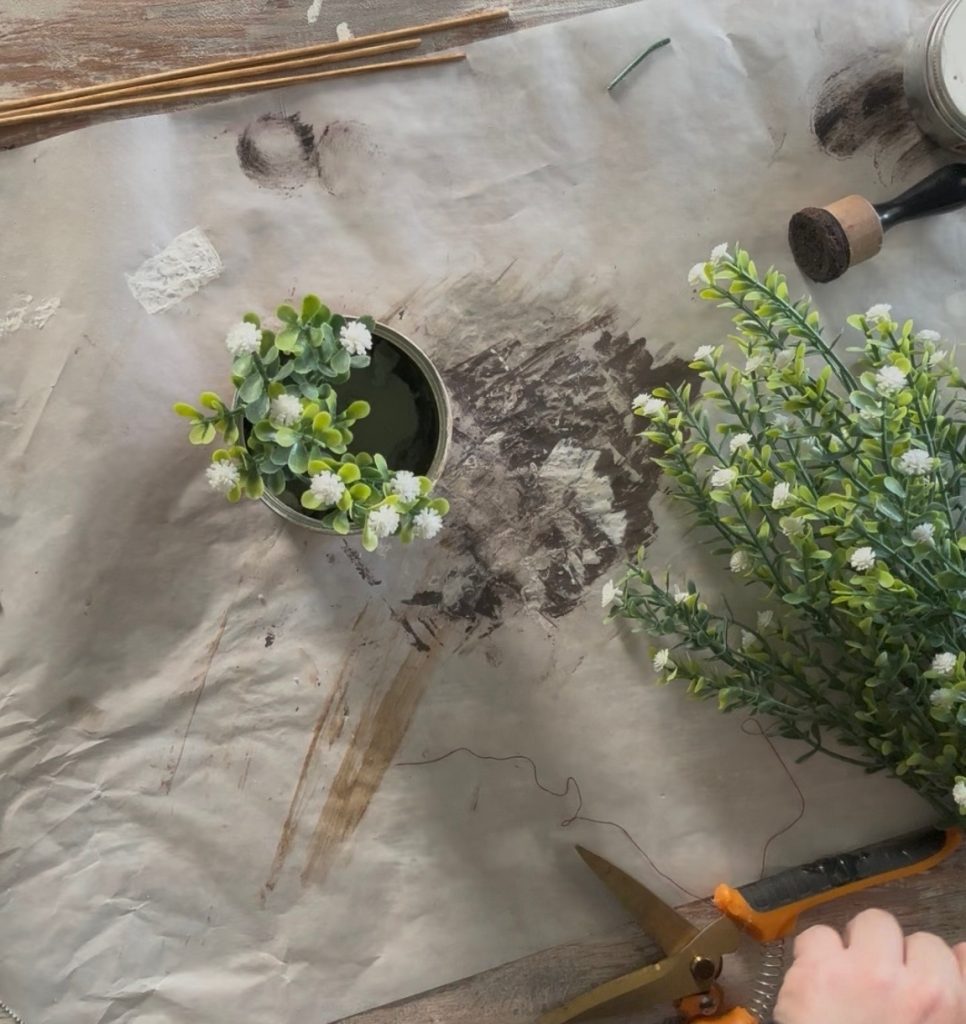
Step 8: Add Spanish Moss
Then to cover up any foam that may be showing, fill in any gaps by gluing Spanish moss around the top edge of the can.
This helps soften the look and gives the arrangement a more natural, finished feel.
Step 9: Create the Star Picks
Next, take your wooden skewers and stain them lightly using antique wax.
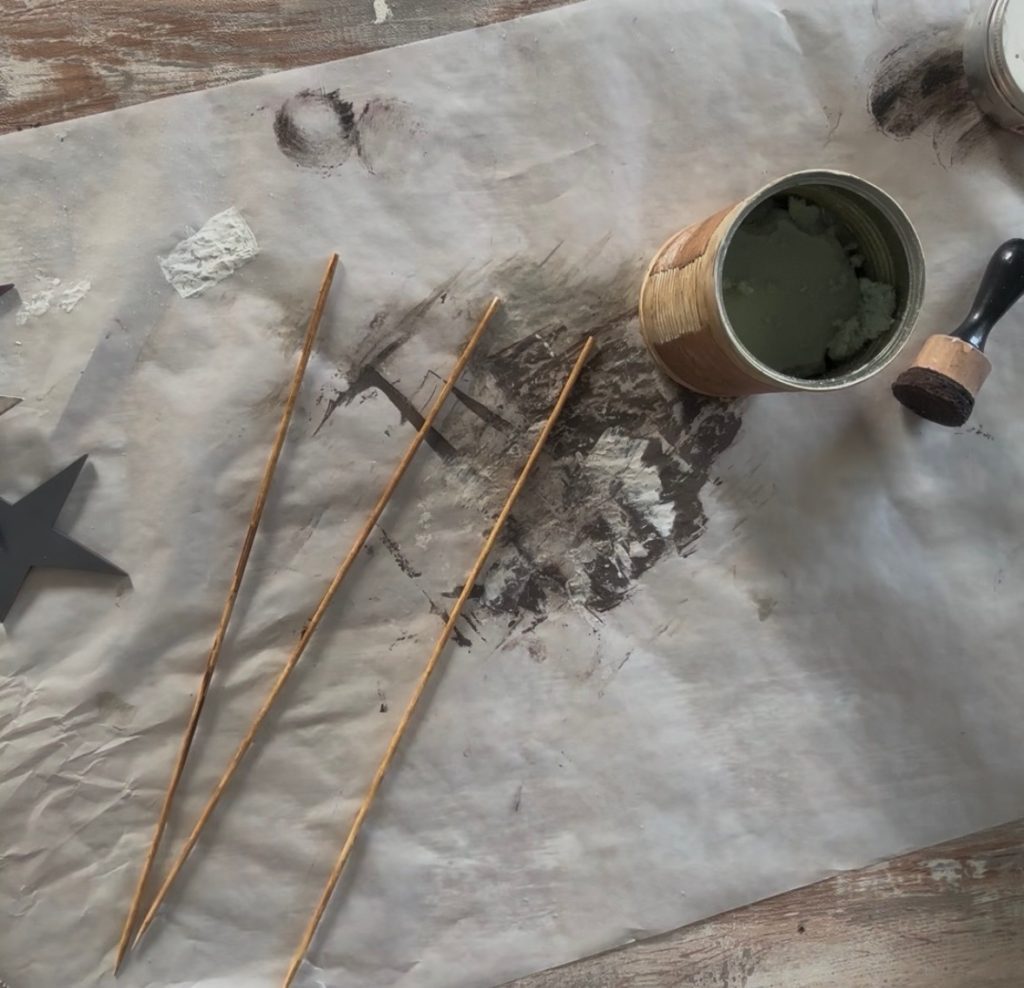
Once dry, glue the painted stars onto the tops of the skewers.
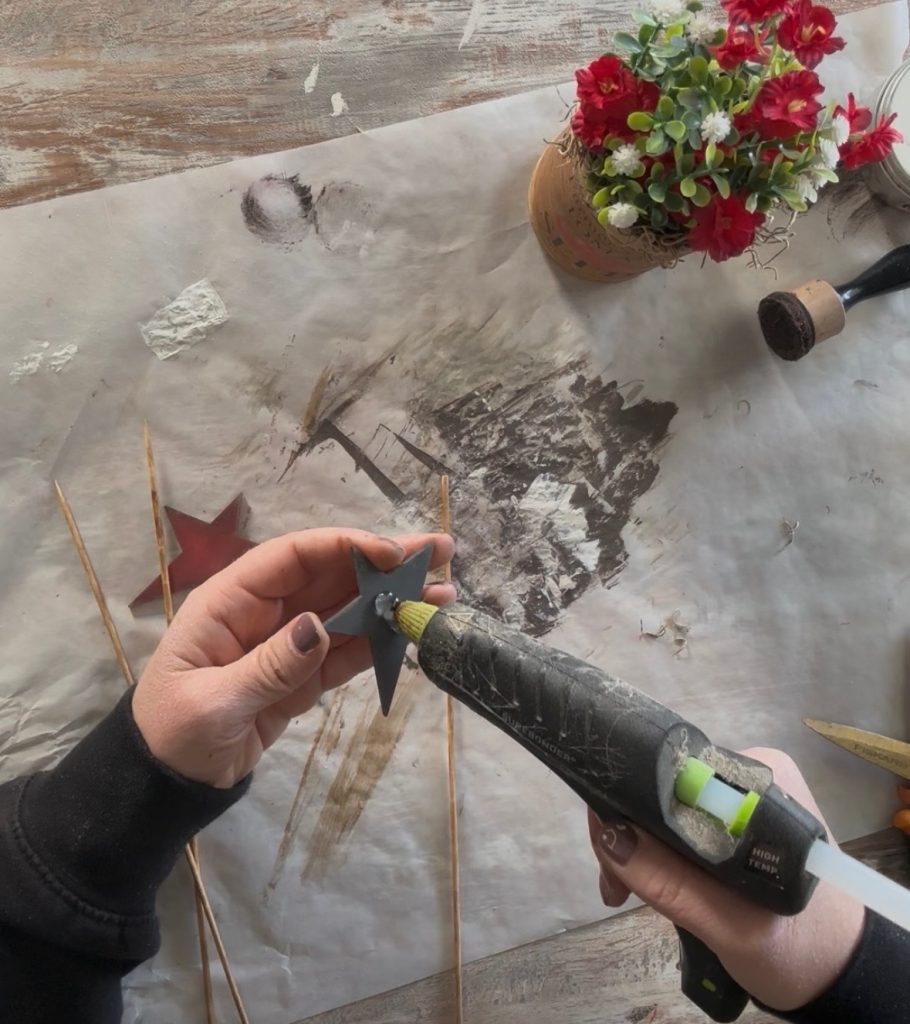
Step 10: Assemble the Arrangement
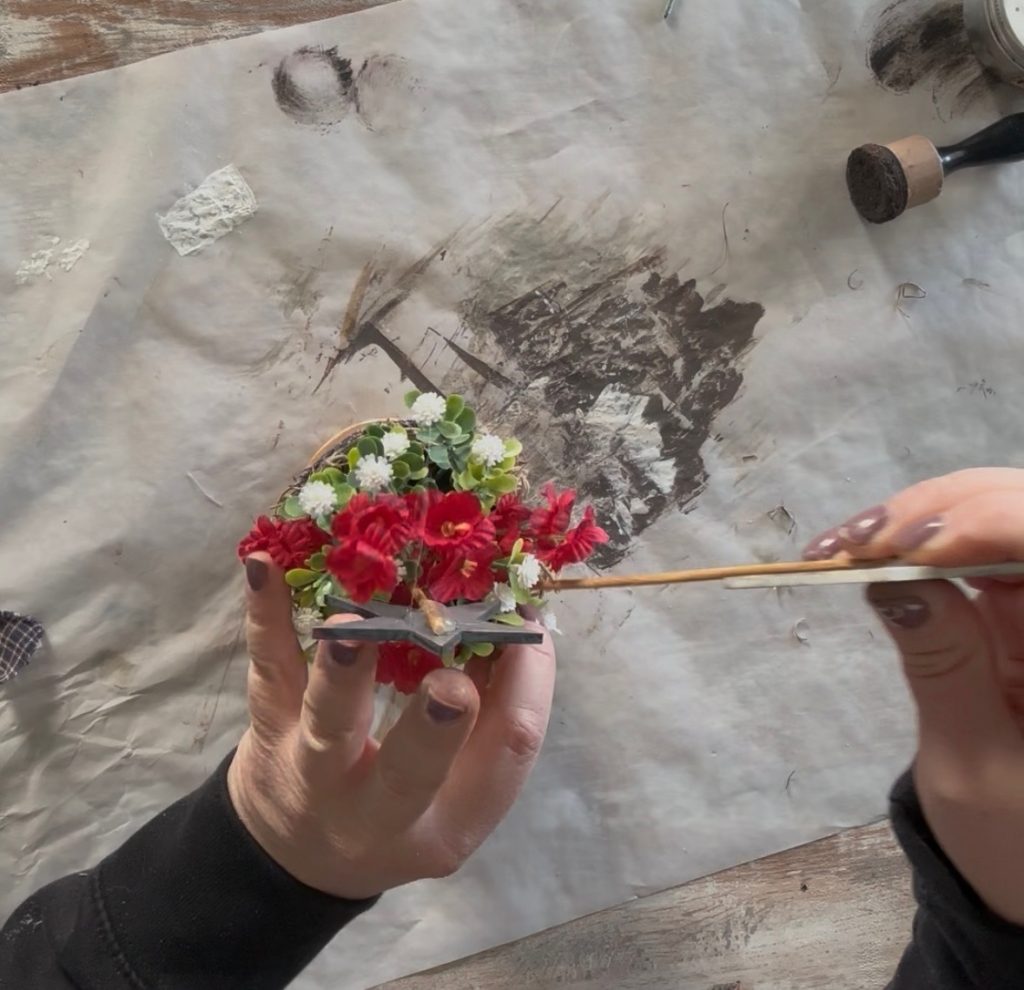
Then, trim the skewers to different heights and insert them into the foam along with your flowers.
This adds dimension and makes the piece more visually interesting.
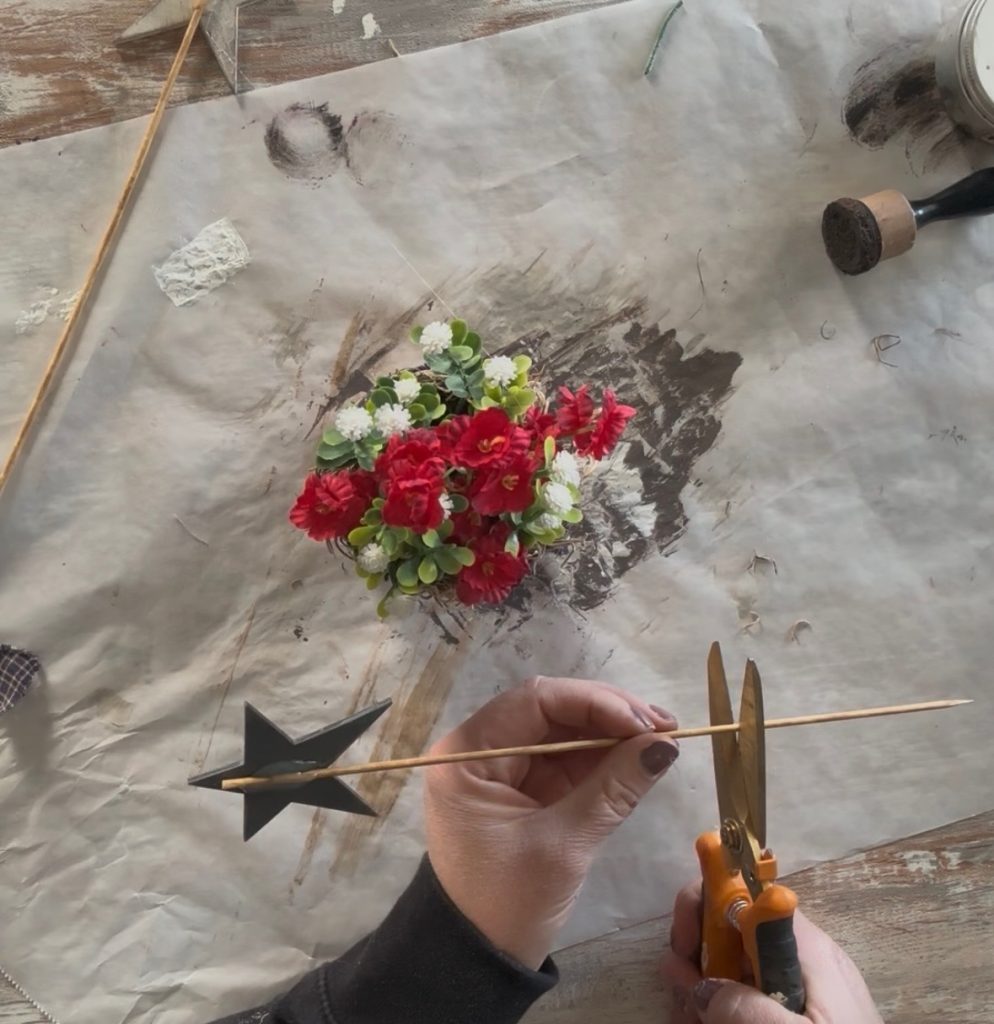
Step 11: Add the Fabric Accent
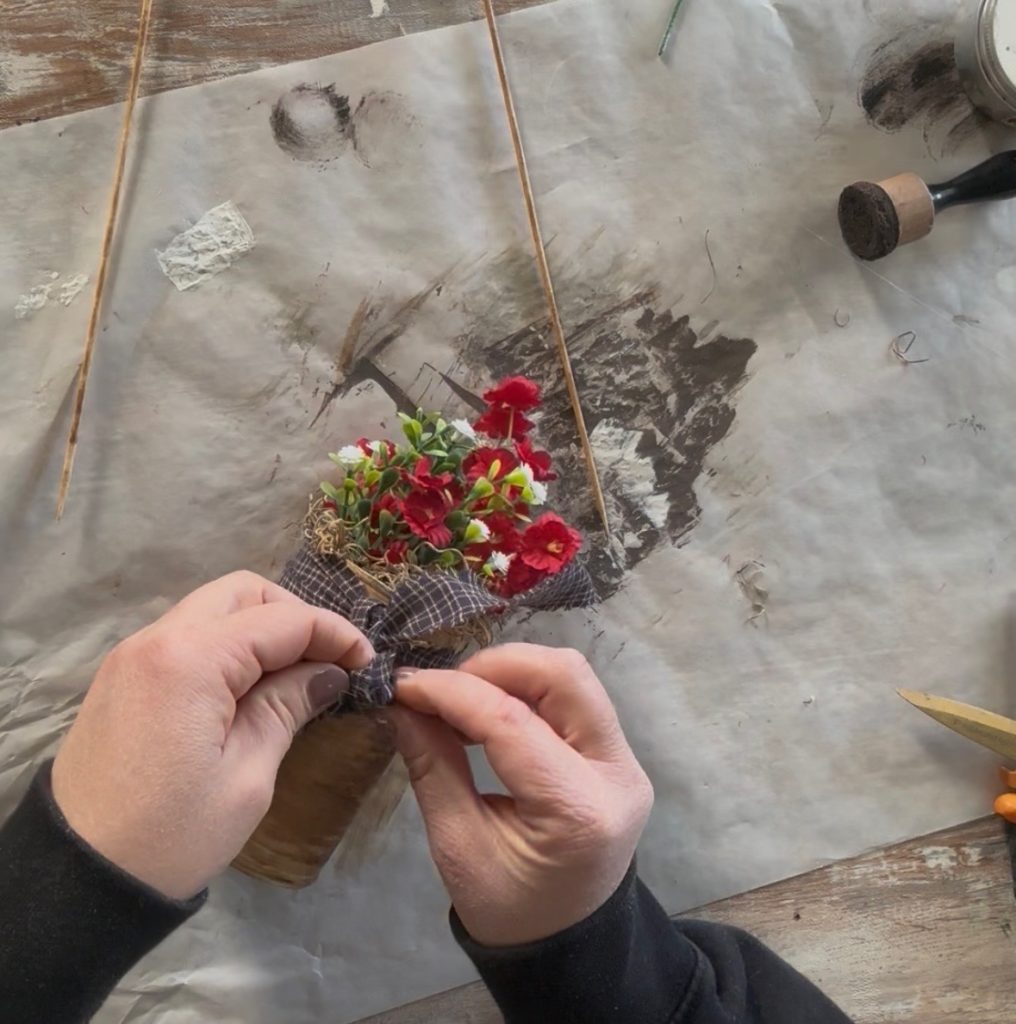
Finally, tie a strip of fabric around the top of the can.
Adjust and trim it to your liking, and your project is complete!
🇺🇸 Finished Patriotic Decor
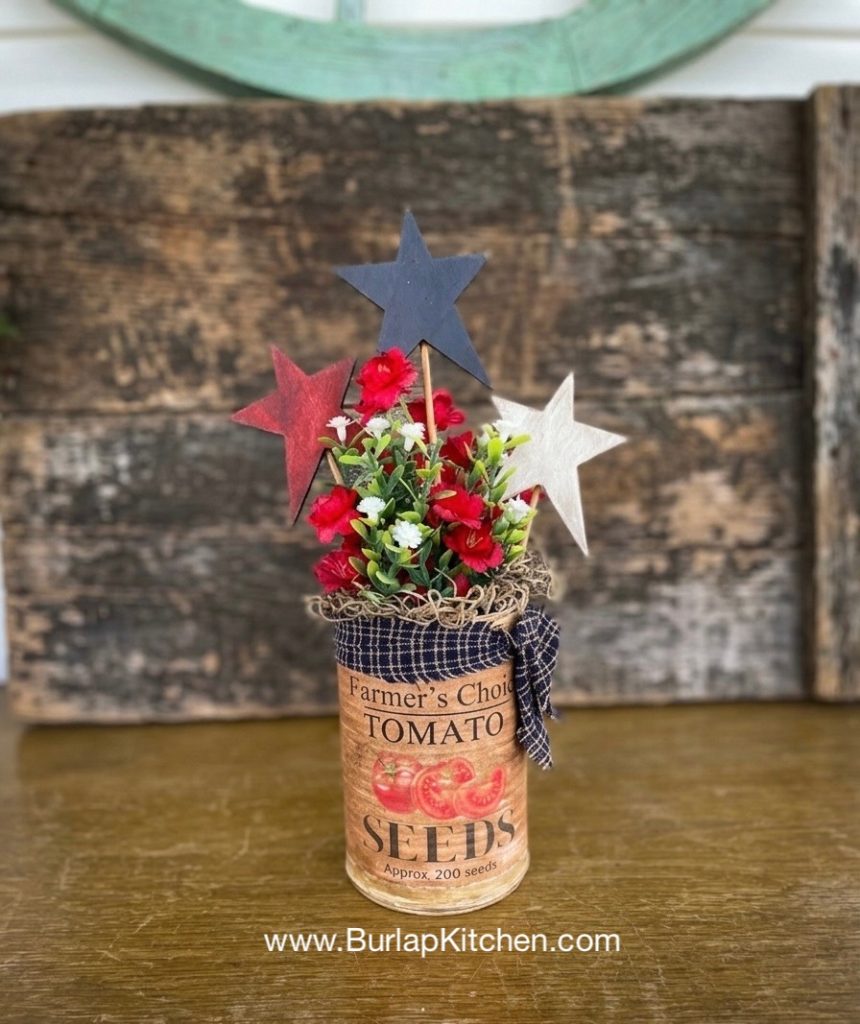
And that’s it! This turned out so cute, and I love that it started as something headed for the trash. It’s the perfect piece for summer, Memorial Day, or Fourth of July decor.
Let me know what you think — will you give this one a try?
___
If you decide to make this DIY I’d love to hear from ya! You can drop a comment below or message me on any of my social media pages. Hope you have a blessed weekend and as always remember to keep it simple. Catch ya next week my friends! Facebook, Twitter, Pinterest, Instagram, YouTube
Watch this tutorial on Facebook!
Watch this tutorial on YouTube!
Looking for more ideas, checkout our latest tutorials HERE!
Pin this for later!


You May Also Like

Bubble Gum Machine Bird Feeder

DIY Primitive Uncle Sam Using Wood Shims
